
Tying the Knot
A Guide to Woven Wrap Finishes from Simple to Stunning
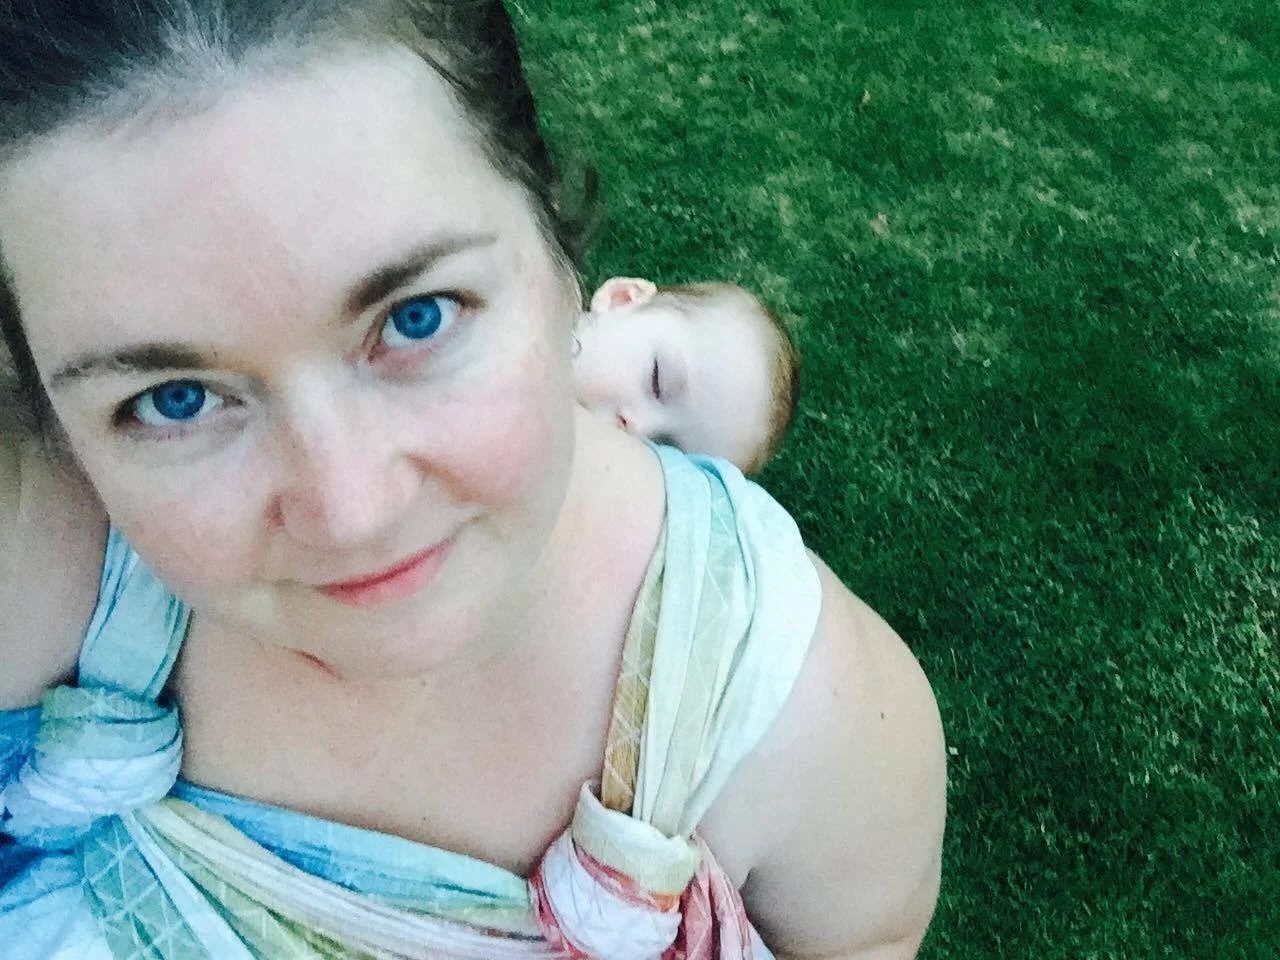
Woven wraps are the original multi-tool of the babywearing world — versatile, beautiful, and endlessly adjustable. But one of the things that can stump new (and even experienced!) babywearers is how to tie it off. Once bub is snug in a carry, what do you do with all that fabric?
Whether you’re keeping it minimal with a newborn or dressing things up for a special event, learning a range of finishes makes woven wrapping more comfortable, more secure, and, let’s be honest, more fun.
This guide walks you through common and creative finishes — from practical tricks to decorative flair — using familiar babywearing terms and breaking them down so that even total beginners can feel confident giving them a go.
The Basics: Simple Ties for Everyday Carries
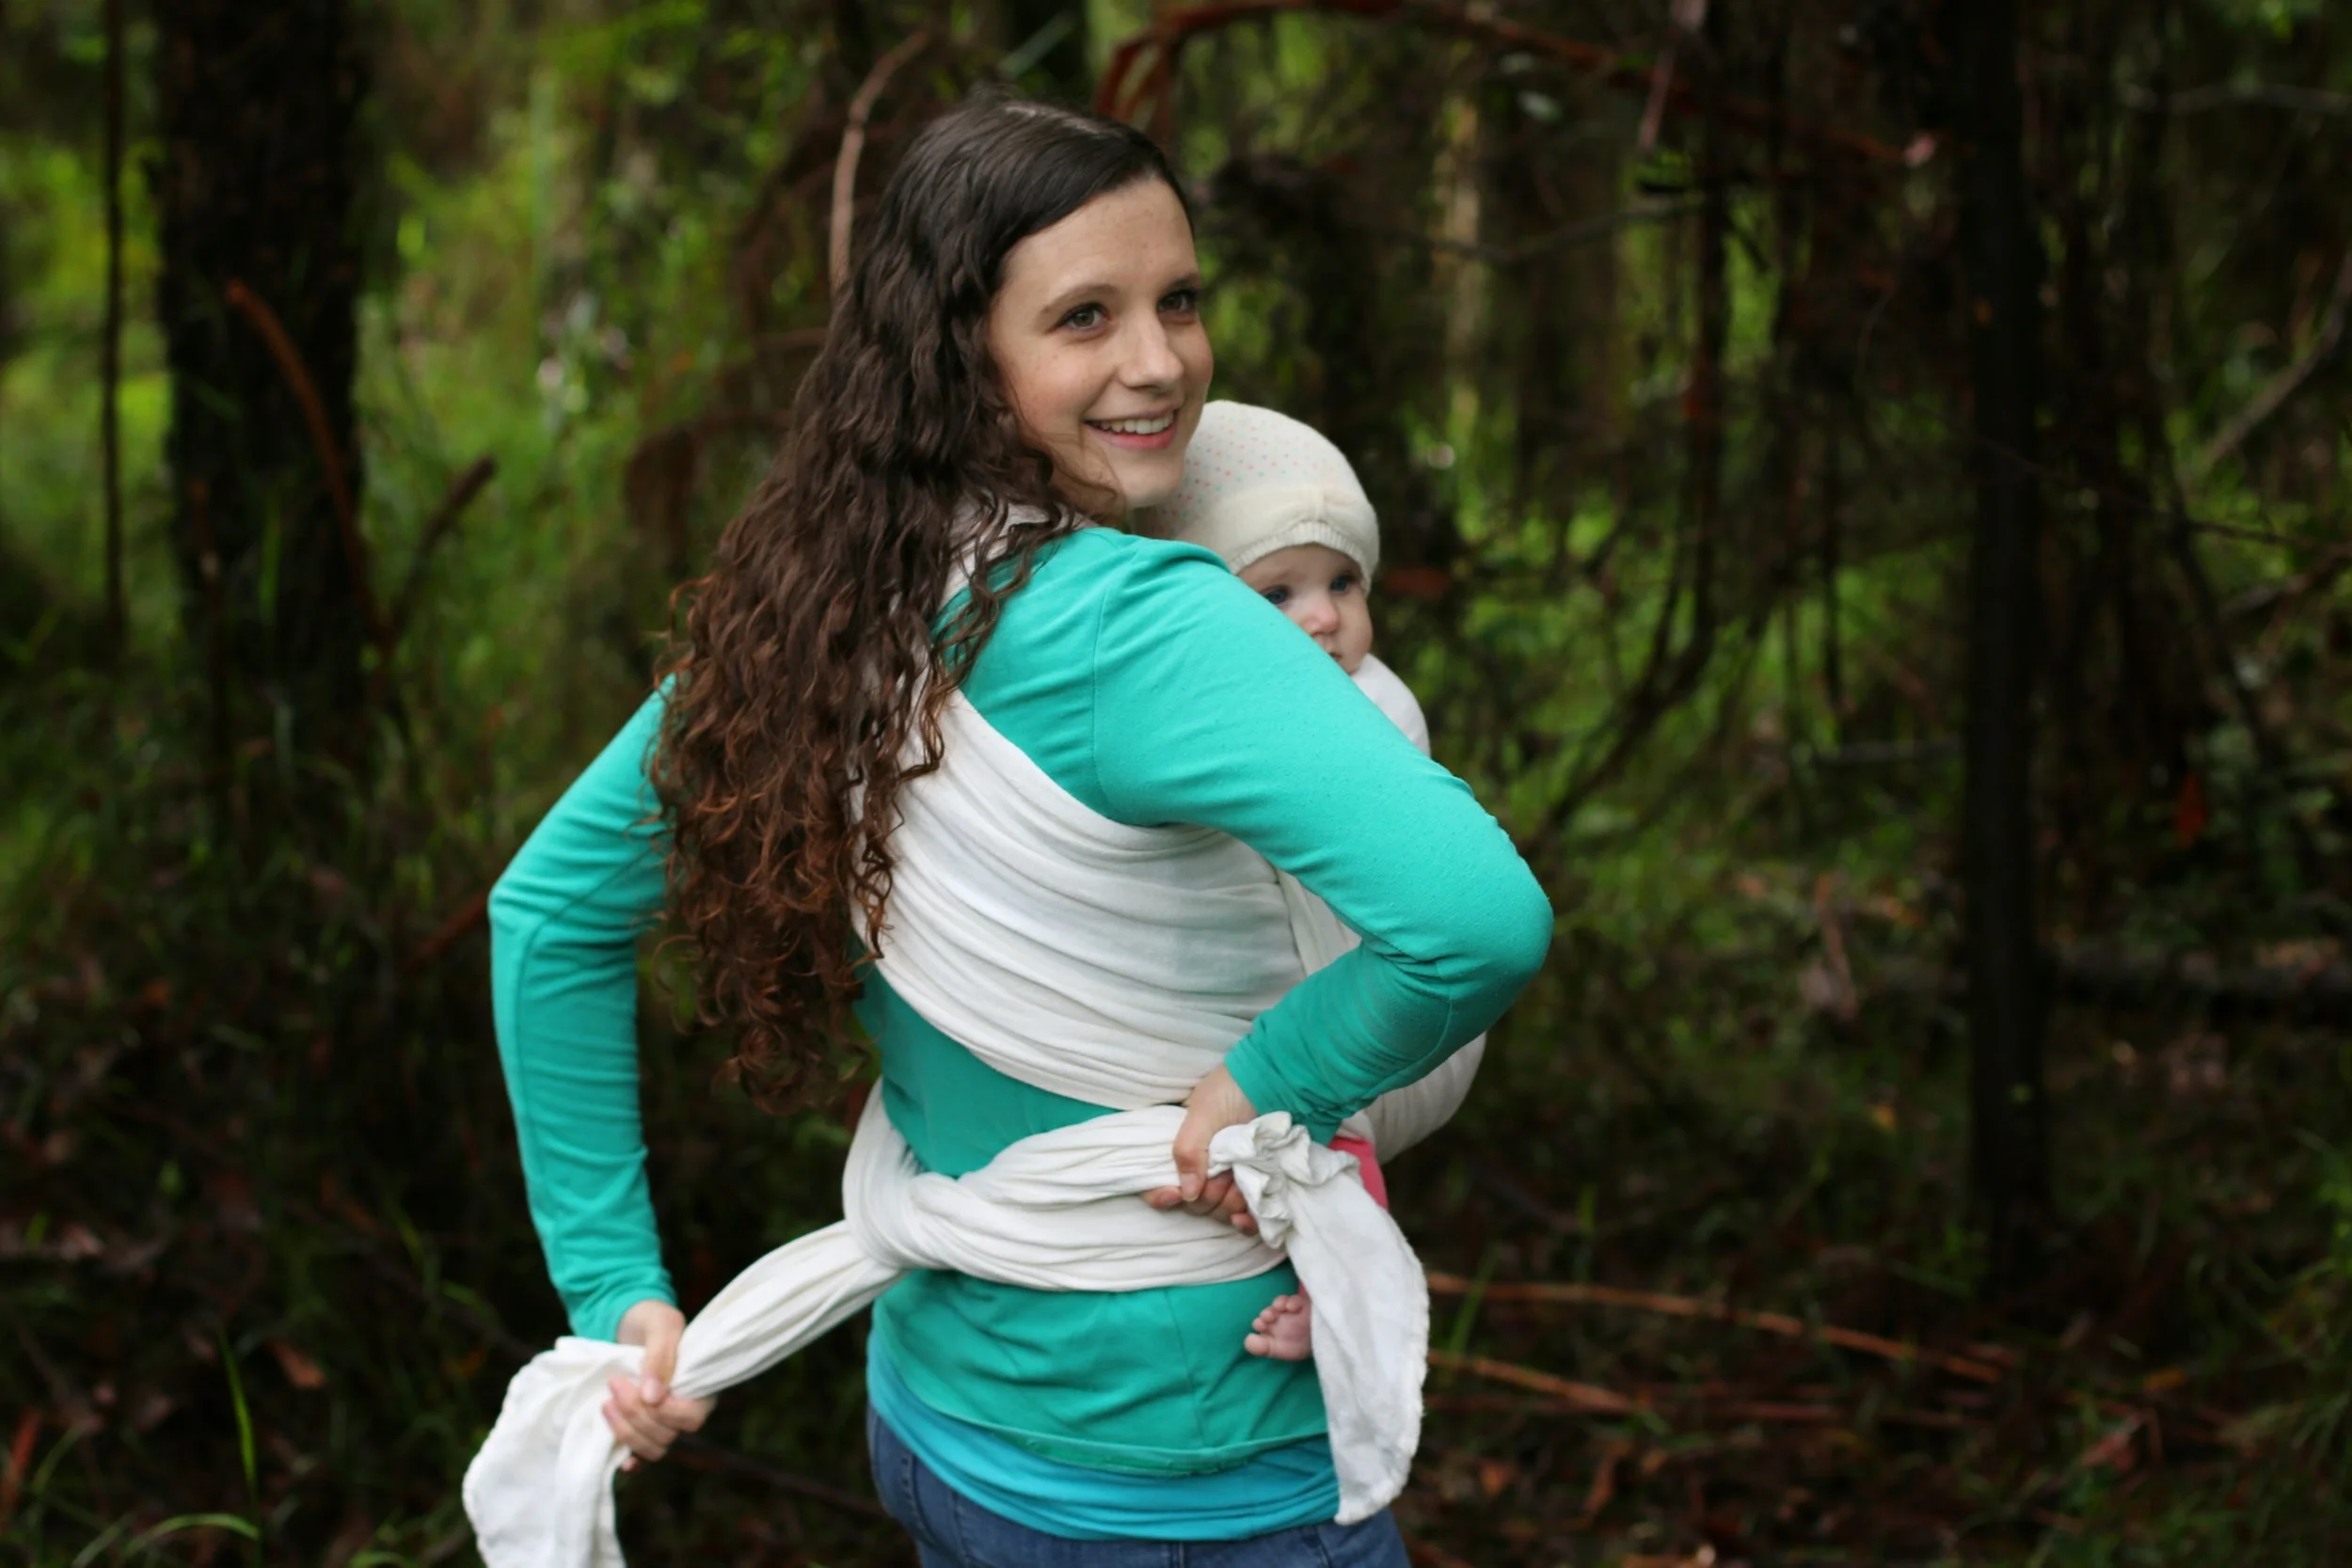
Double Knot (Square Knot) The standard way to tie off your wrap: cross one tail over the other, then tie a second knot the opposite way to secure. ✔️ Use with: Front Wrap Cross Carry, Ruck Tied at Waist ✔️ Why it works: Secure, balanced, and beginner-friendly.


Half Knot (Slipknot or Simple Knot) Used in adjustable carries like a slipknot hip carry or ringless ring sling-style carry. ✔️ Use with: No-Sew Ring Sling, Robin’s Hip Carry ✔️ Why it works: Allows tightening or loosening without untying.


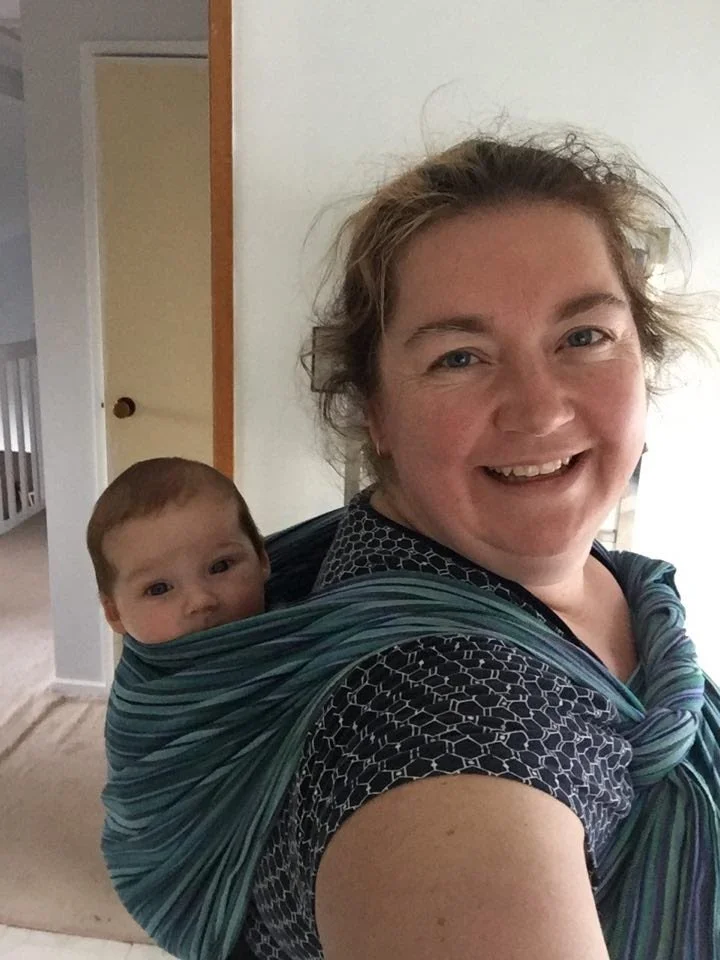
Tied at Waist (TAW) After securing your carry, tie the tails around your waist and knot in front or back. ✔️ Use with: Ruck Carry, Kangaroo Carry ✔️ Why it works: Keeps tails tidy and weight distributed.


Tied Under Bum (TUB) Bring the tails under baby’s legs and tie beneath their bottom for extra seat security. ✔️ Use with: Front Cross Carry, Reinforced Rear Ruck ✔️ Why it works: Provides seat reinforcement and minimises tail length.


Special Tricks for Newborns
The Newborn Twist A lifesaver with squishy newborns: twist the wrap tails once before tying to remove slack and gently lift baby’s knees. ✔️ Use with: Pocket Wrap Cross Carry, Front Wrap Cross Carry ✔️ Why it works: Creates snug support and enhances pelvic tilt for newborns.

Tied in Front (TIF) Tails tied high and in front can help prevent pressure on your postpartum belly or caesarean scar. ✔️ Use with: Short wrap carries ✔️ Why it works: Comfort!
Decorative & Functional Finishes
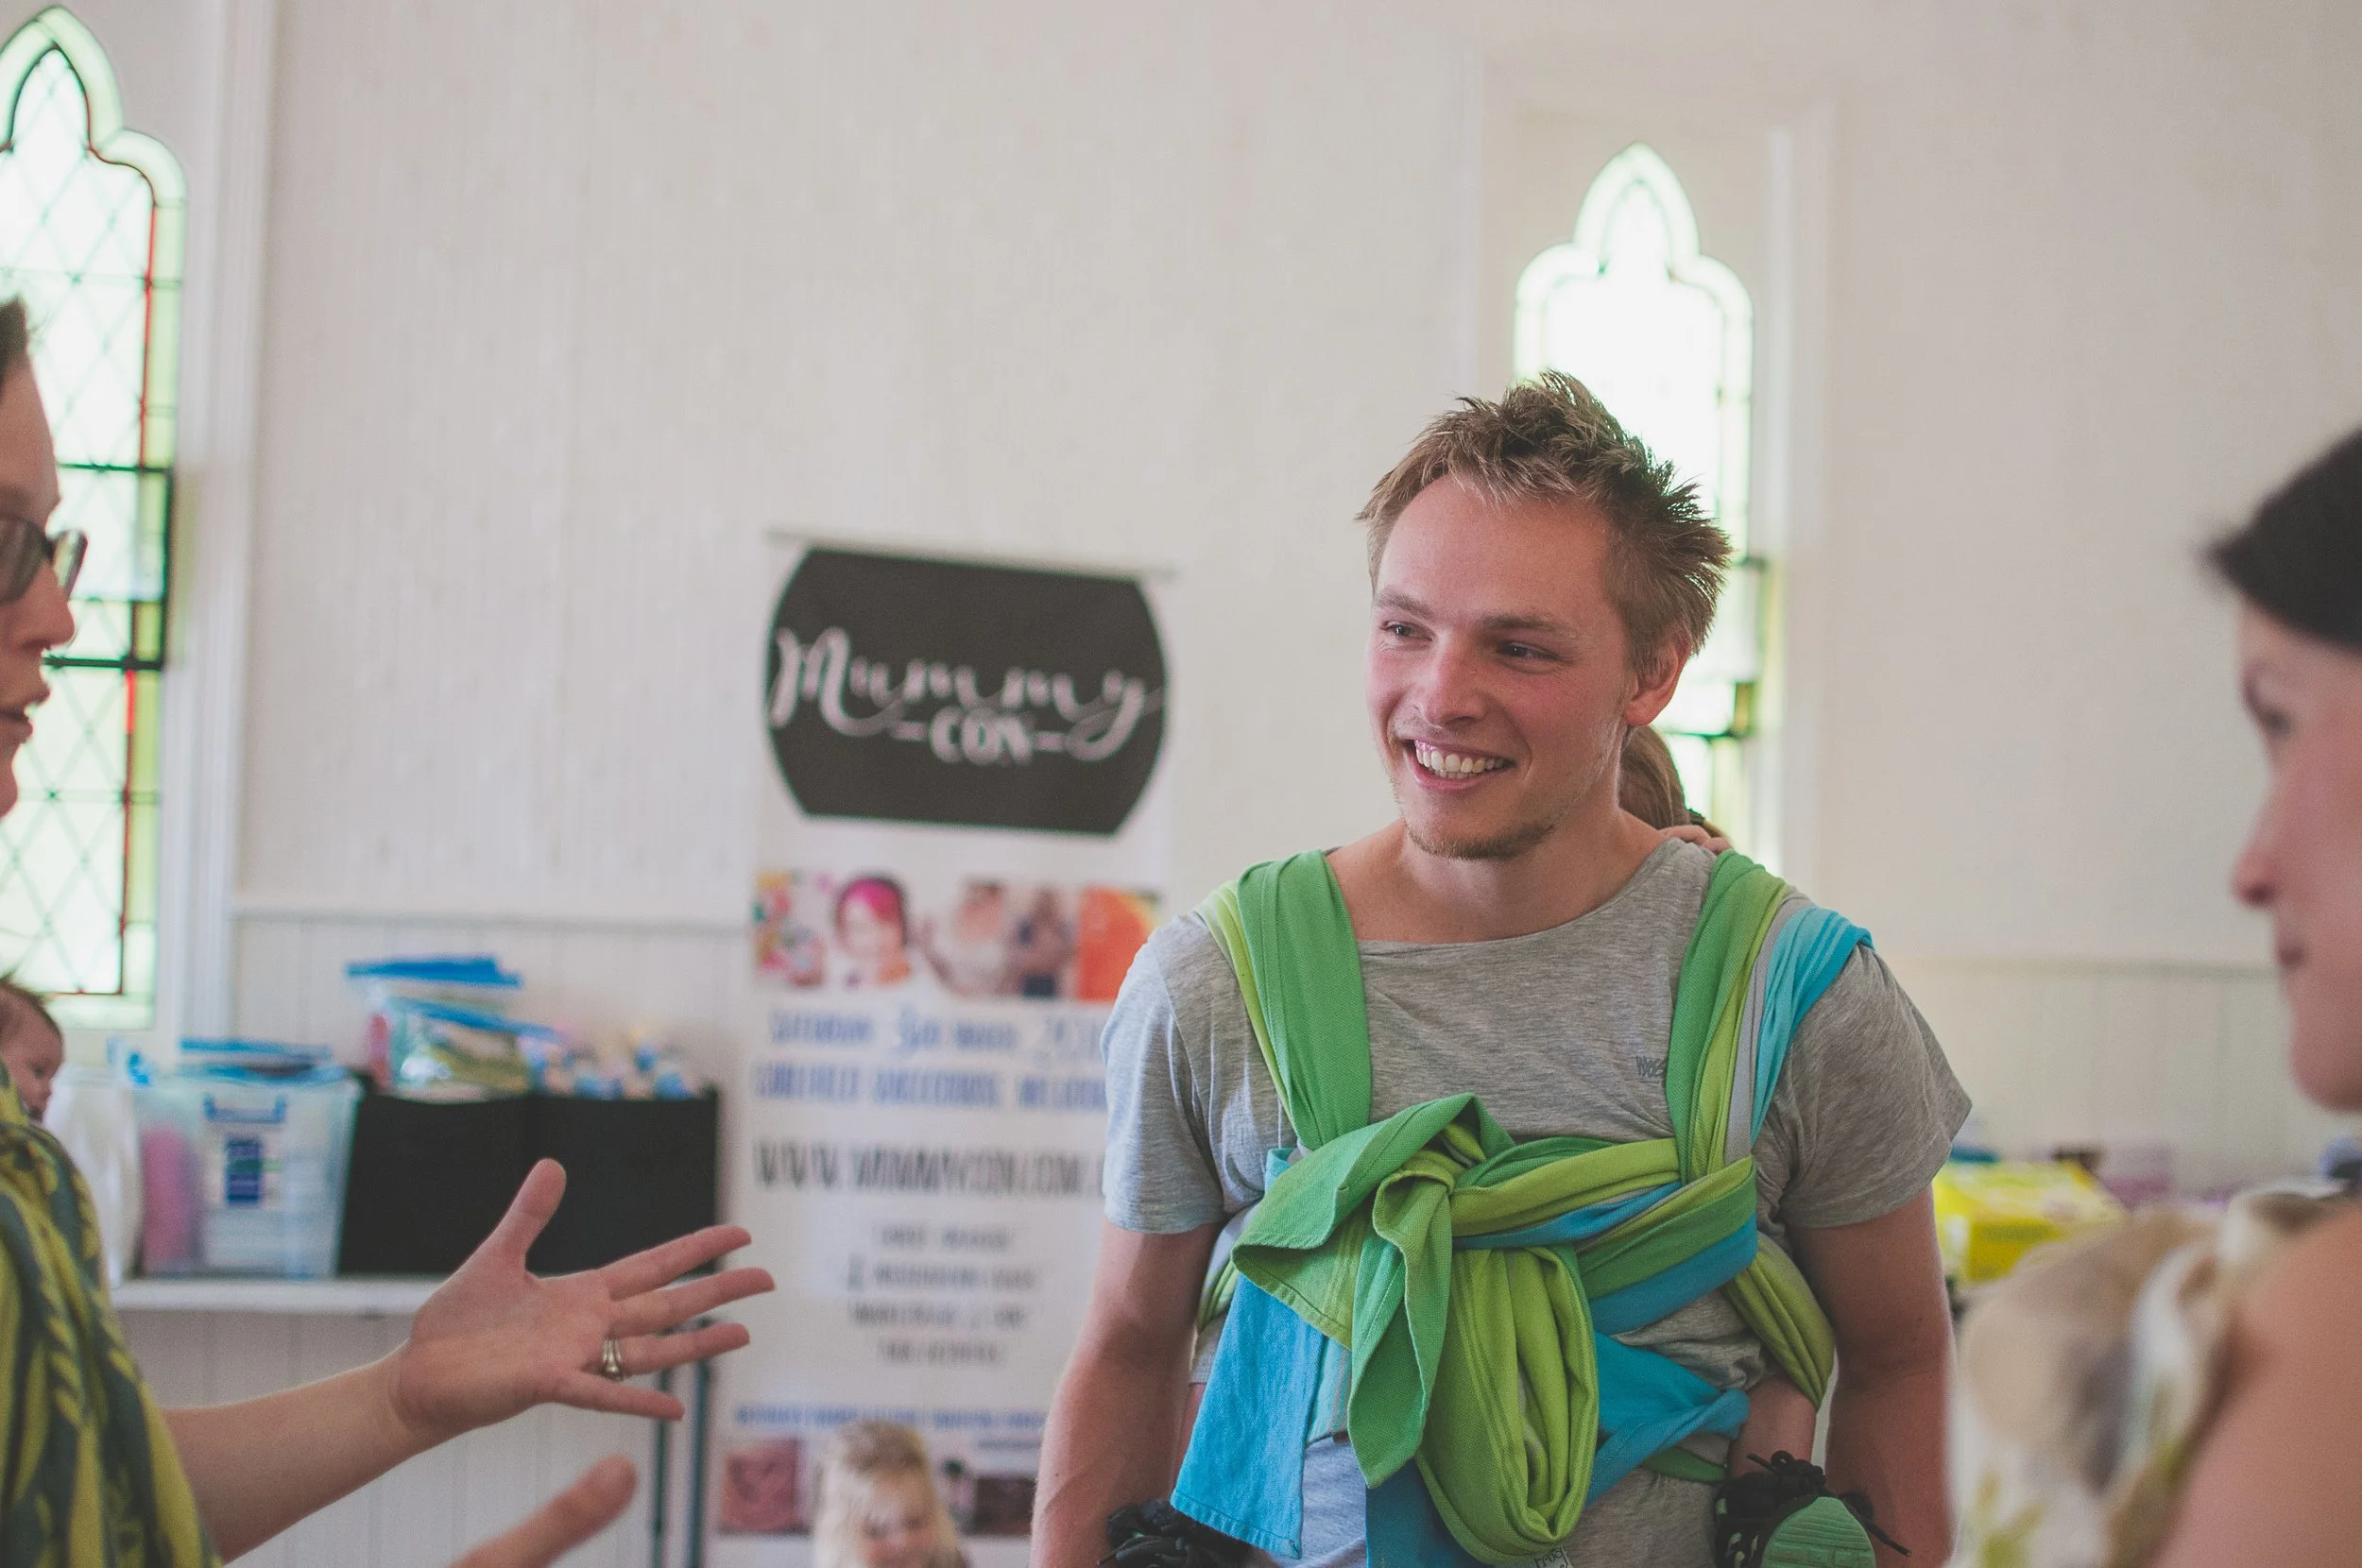
Candy Cane Chest Belt Twist the tails together and wrap them across your chest before tying at your back. ✔️ Use with: Double Hammock, Reinforced Ruck ✔️ Why it works: Distributes pressure, adds flair, and keeps tails tidy.


Tibetan Finish Bring the tails over your shoulders and tuck them under the opposite ruck strap like a sash. ✔️ Use with: Ruck, Double Hammock ✔️ Why it works: Spreads weight through your chest and avoids waist ties (great for pregnancy!).


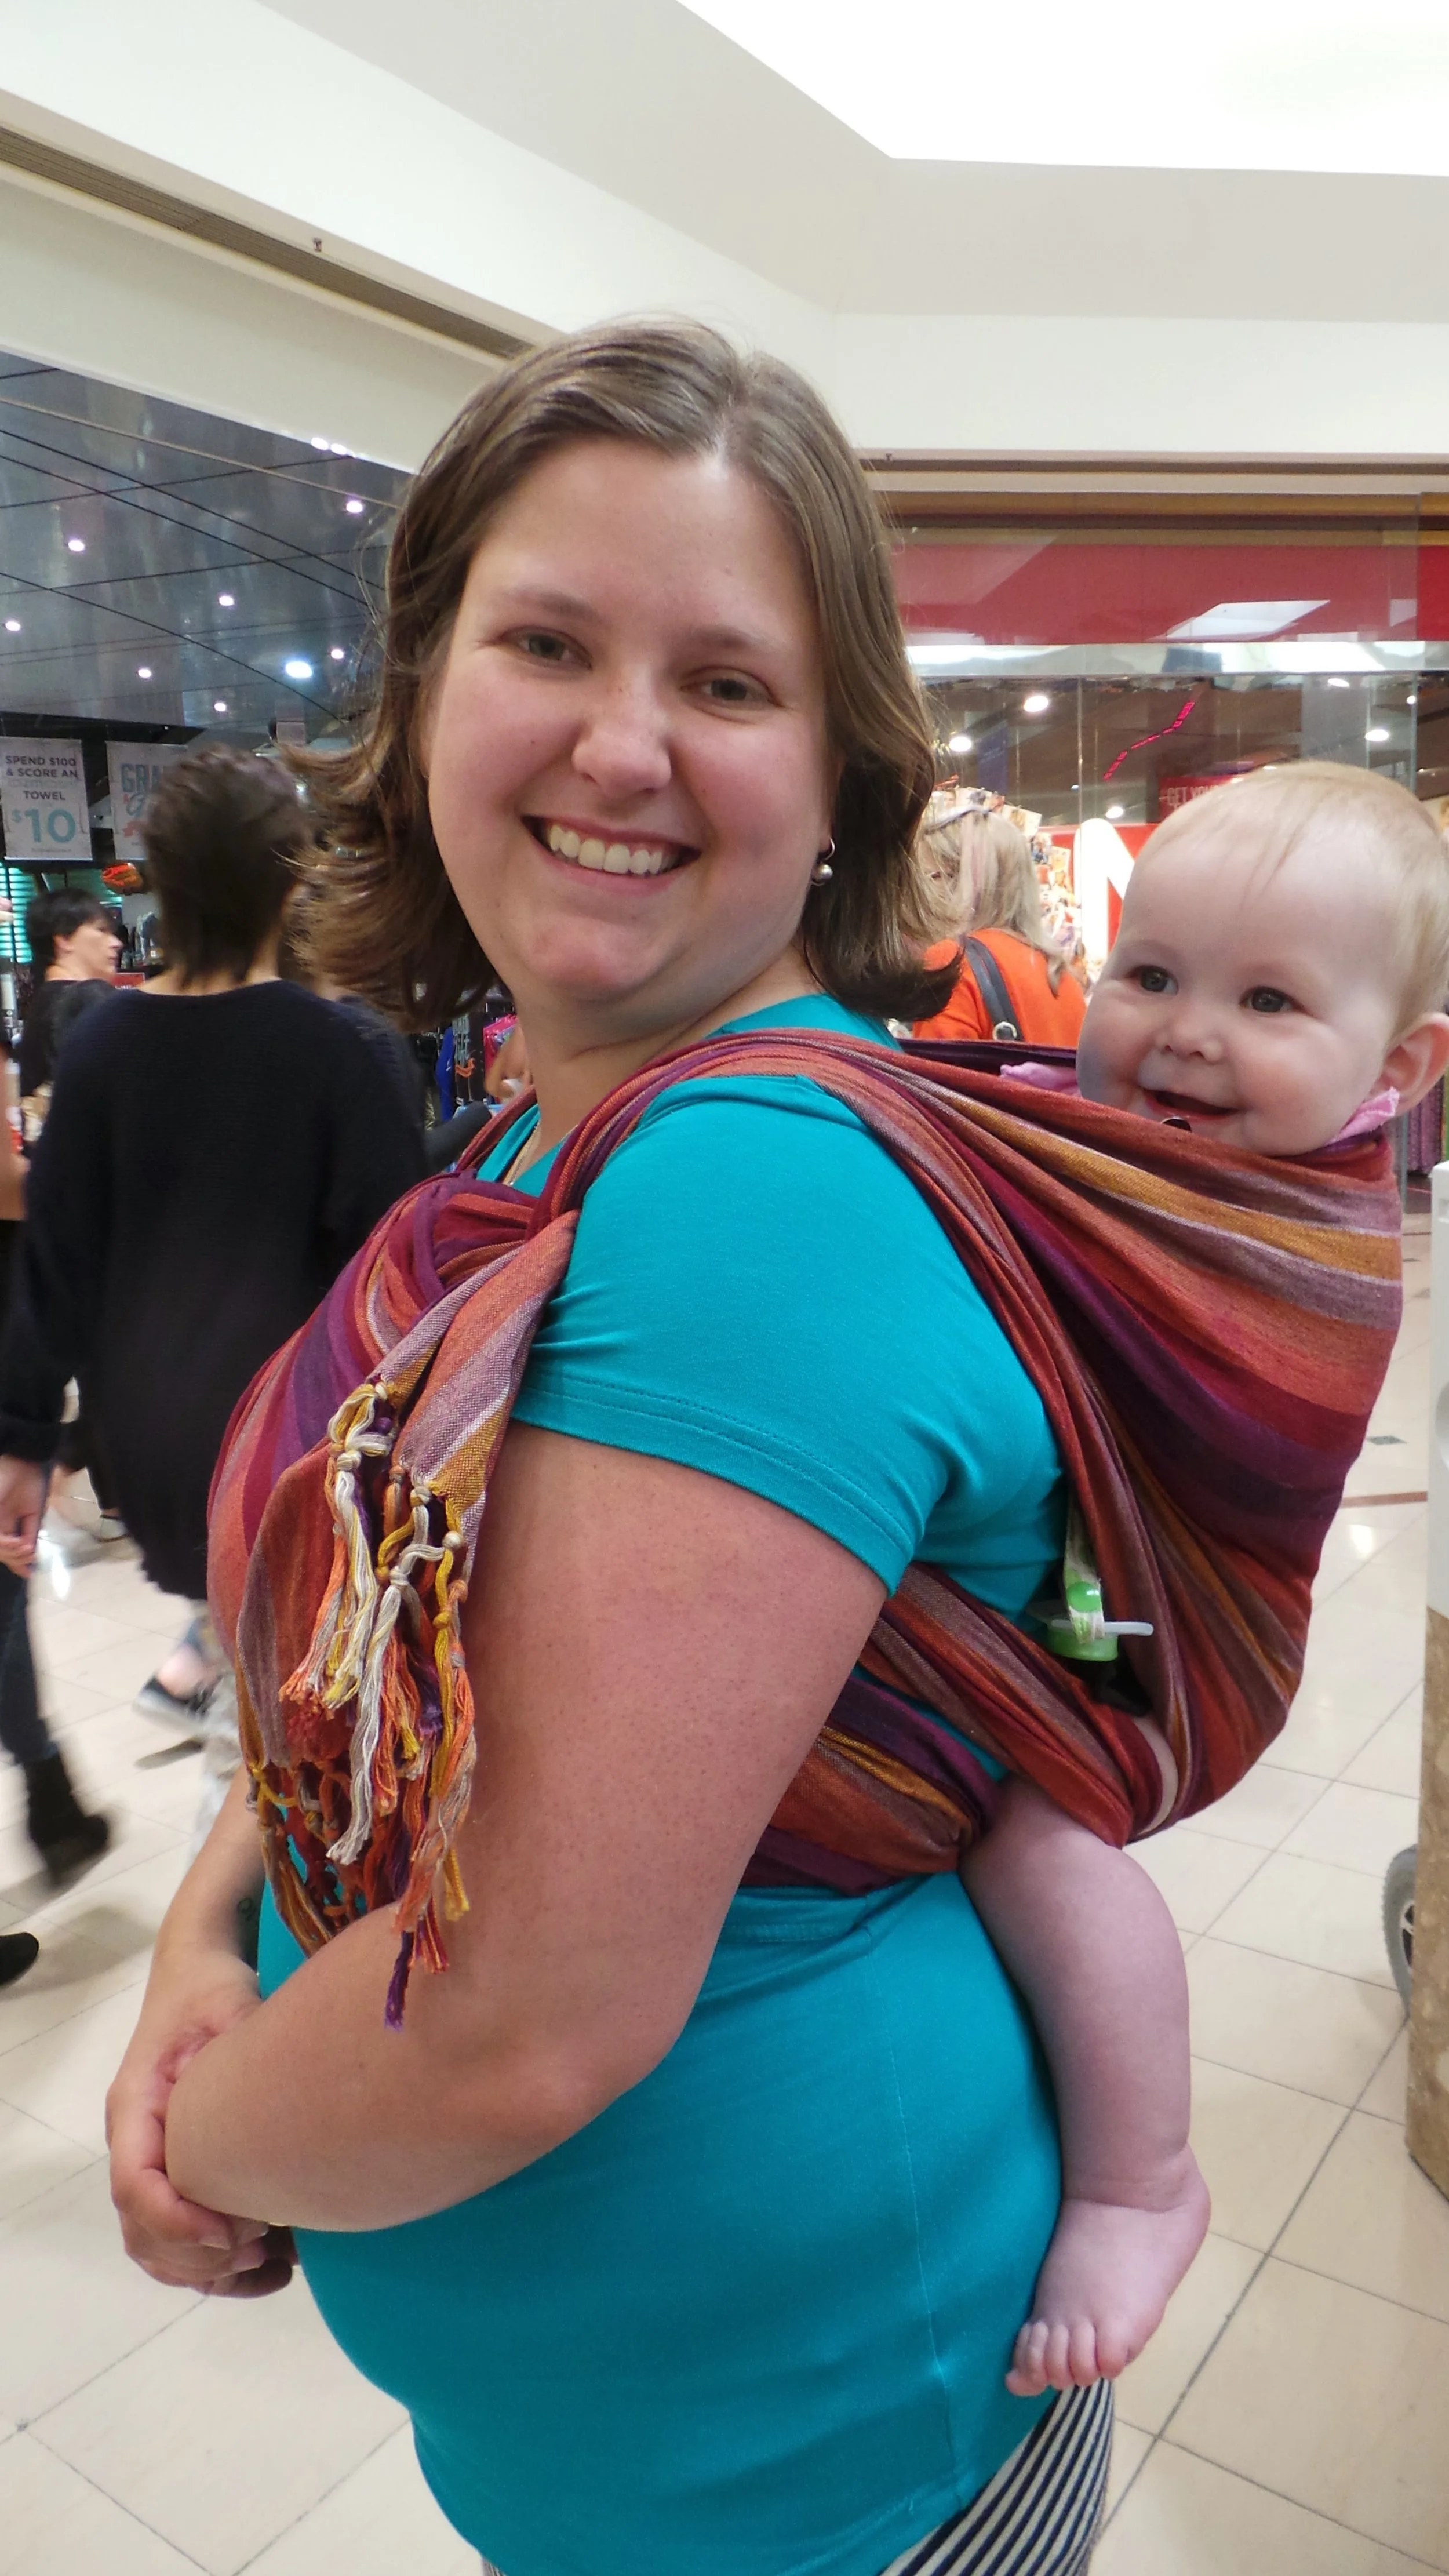

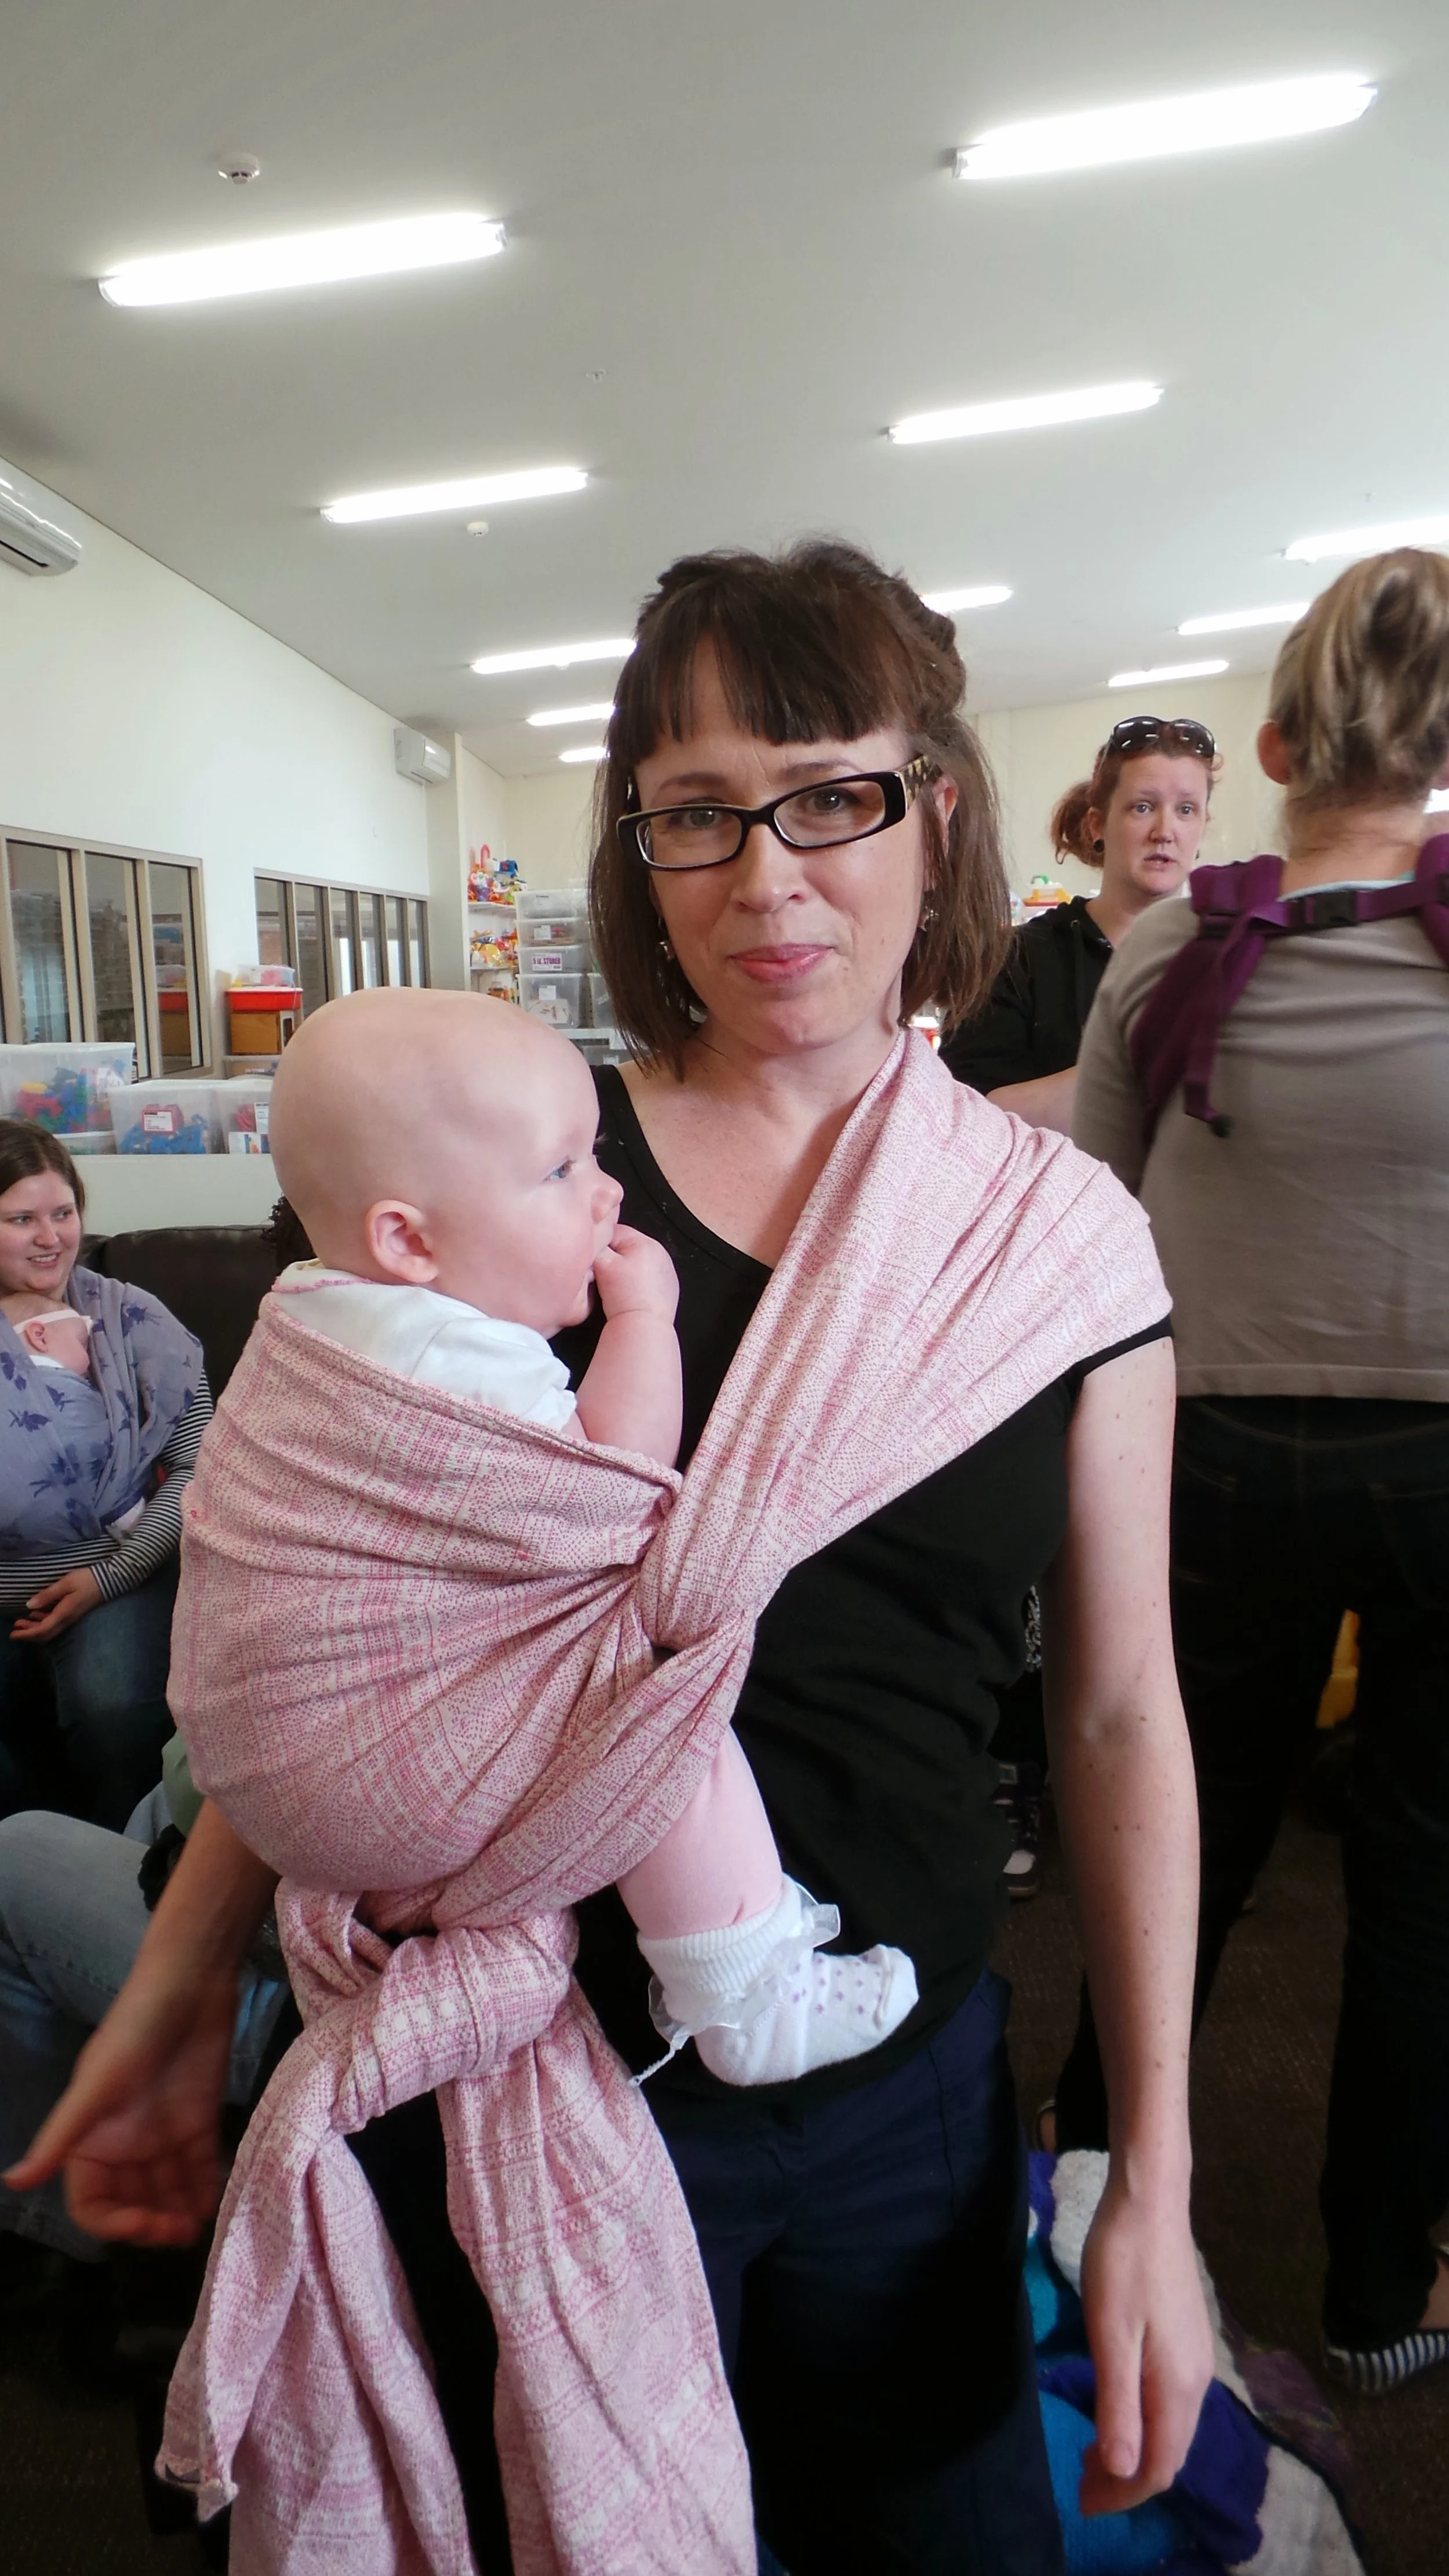
Poppins Finish Cross tails across baby’s back and bring them around to tie — elegant and secure. ✔️ Use with: Front Cross Carry ✔️ Why it works: Makes a pretty, open-front wrap style — lovely for photo ops or formal occasions.

Lexi Twist Twist the tails around each other before tying them at the waist or back. ✔️ Use with: Double Hammock, Ruck Variations ✔️ Why it works: Adds friction for extra grip and a touch of visual interest.

Want to Try Them All?
Come along to one of our babywearing events! We’ll bring demo dolls, you bring your wrap (or borrow one of ours). You’ll get support from experienced volunteers and other parents who love wraps as much as you will.


📌 Need Visuals? Check out tutorials at Wrap Your Baby,for clear step-by-step demos.
💡 Remember: Babywearing should feel good. If your wrap is digging in, slipping, or overwhelming you, come and chat with us — we’ll help you troubleshoot and find the joy in wrapping.