
The Anatomy of a Woven Wrap

When you’re first getting started with woven wraps, it can feel like learning a new language — rails, tails, passes… wait, what? But don’t worry — once you know the basic parts of the wrap and the terms we use, everything starts to make a whole lot more sense.
Let’s walk through the “anatomy” of a woven wrap together. This is the terminology we’ll use when teaching basic carries, like the Front Wrap Cross Carry (FWCC), and once you’re familiar with these building blocks, you’ll feel much more confident as you wrap your baby.
Rails
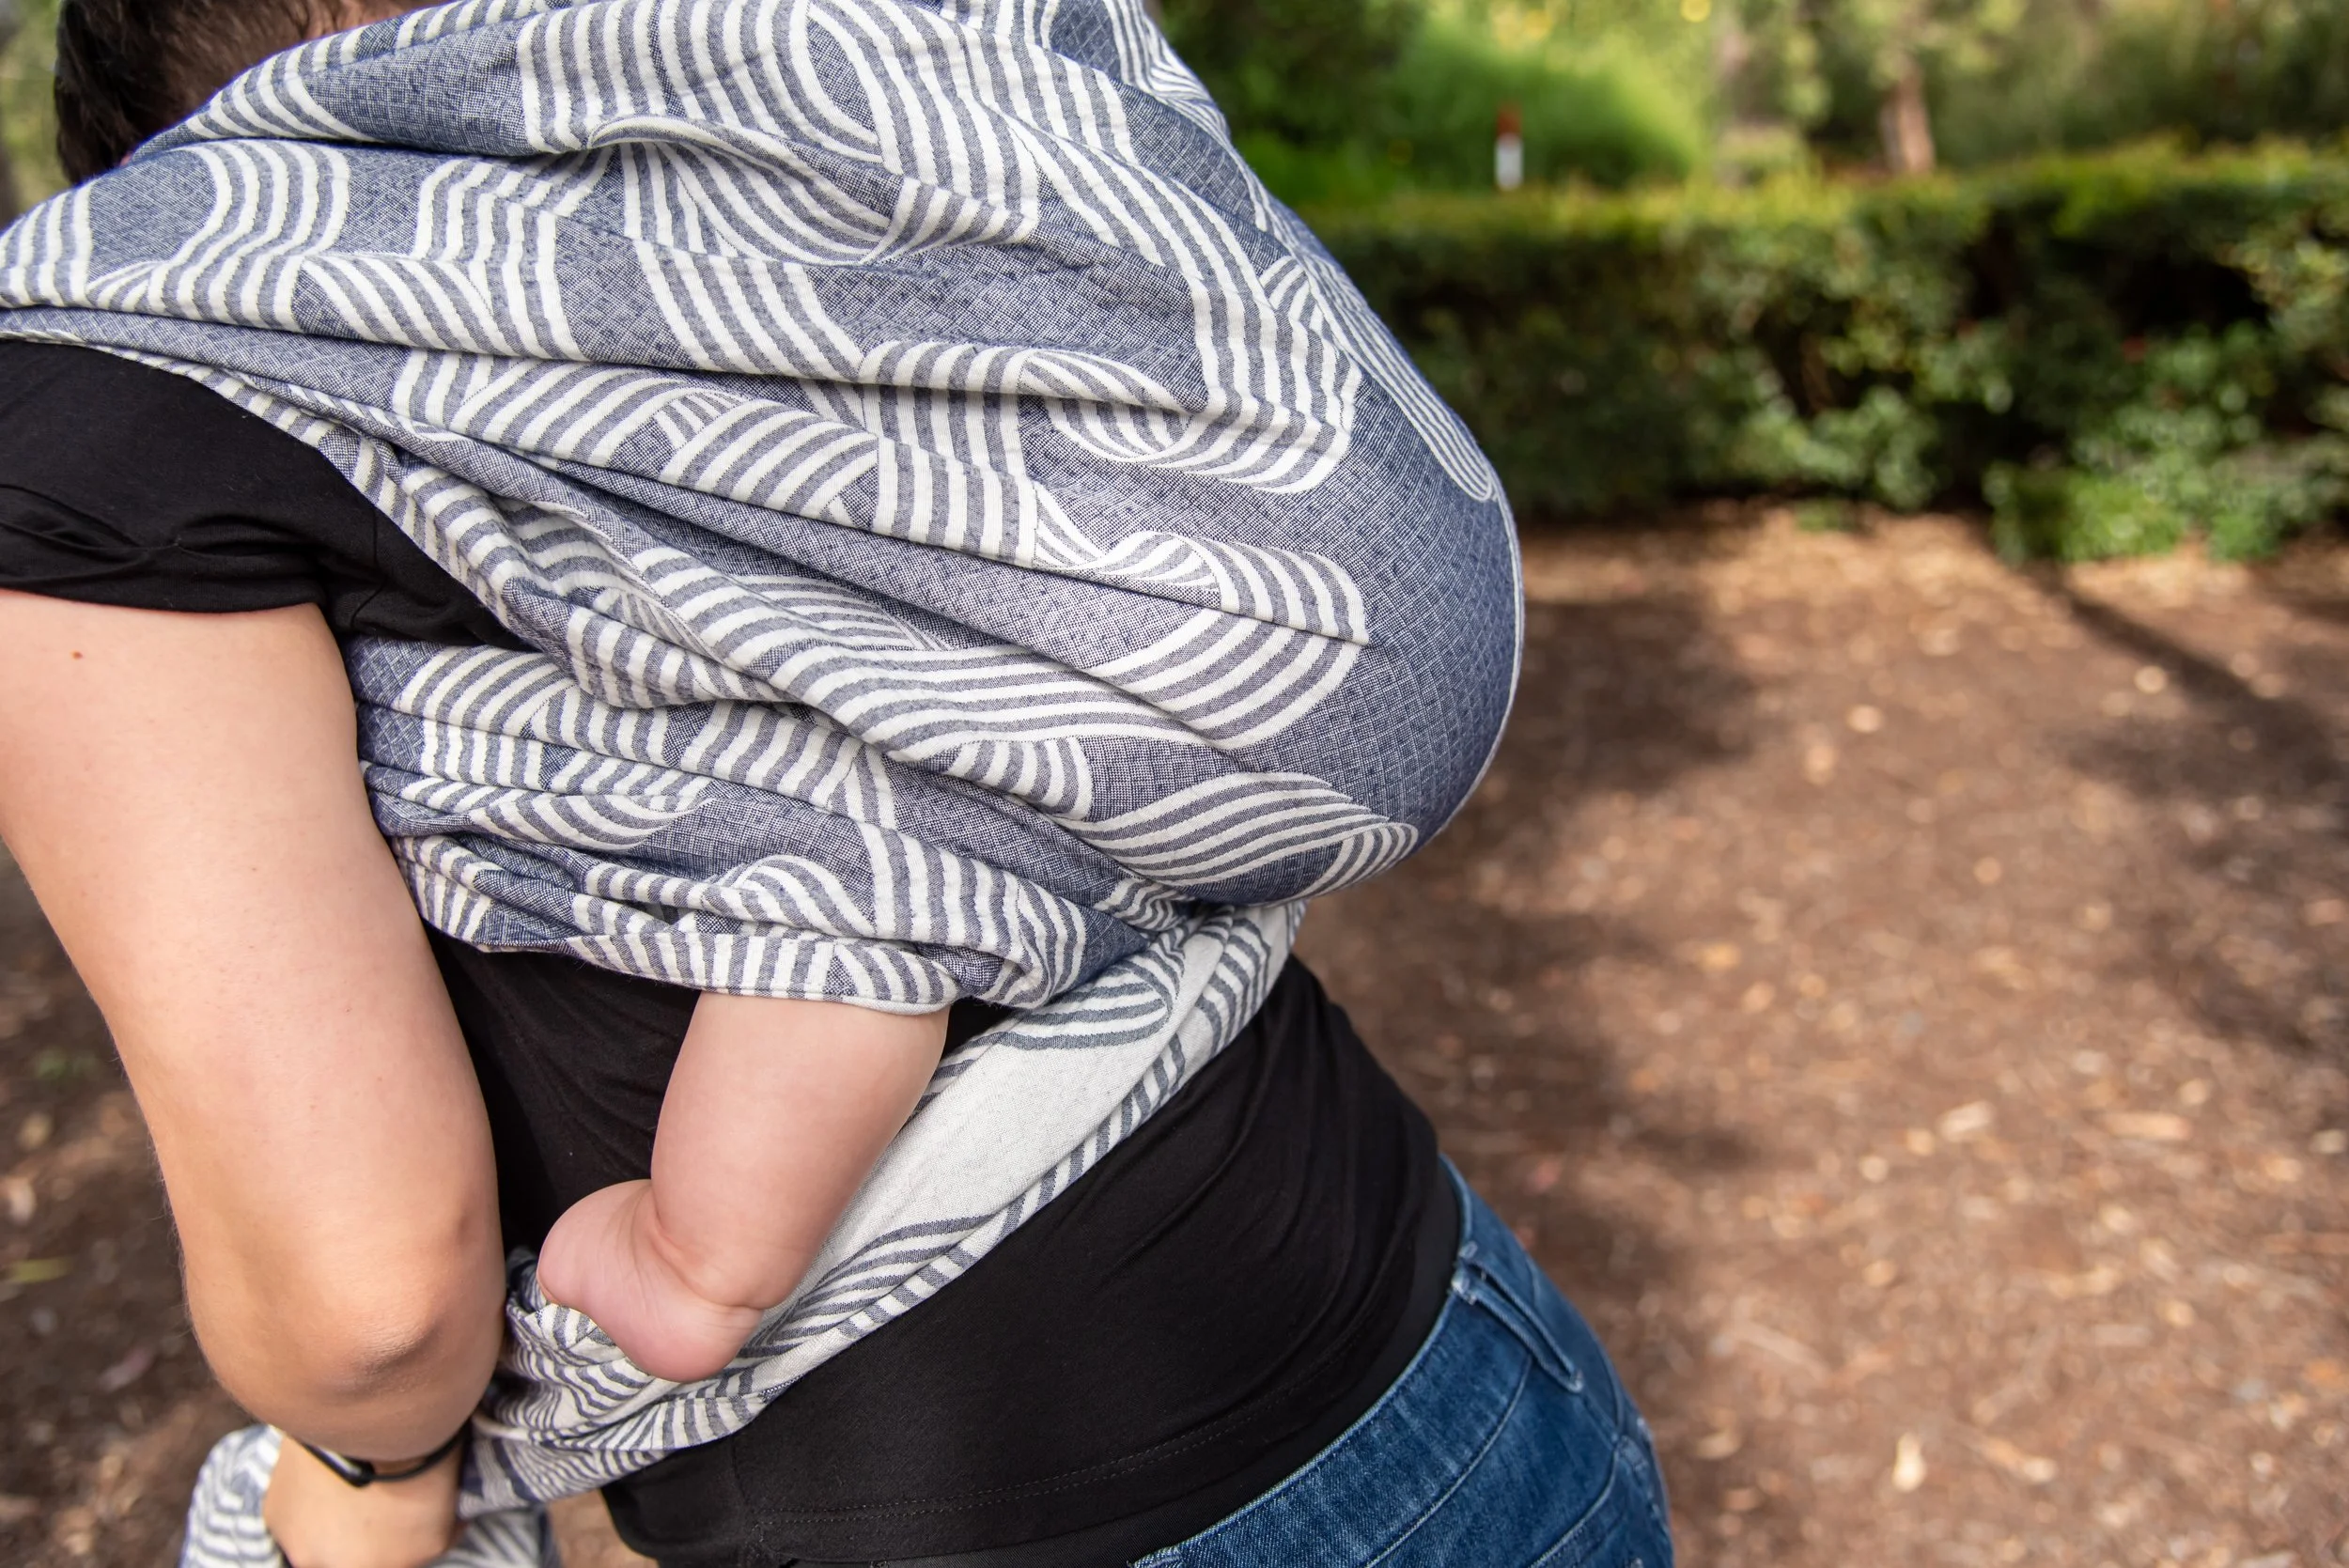
Think of the rails as the long edges of your wrap. There’s a top rail and a bottom rail, and they’re your best friends when it comes to getting a secure and comfortable carry.
Most wraps have a coloured seam or different pattern near the rails to help you tell them apart at a glance — that’s especially helpful when you're learning to tighten layer by layer. The top rail supports baby’s upper back and shoulders, while the bottom rail goes under their knees to help form that lovely deep seat.
You’ll often hear instructions like “tighten the top rail” or “pull slack from the bottom rail” — knowing which is which makes all the difference.

Different coloured edges are helpful while learning
Passes
A pass is any time a section of the wrap crosses over your baby or your body. In a Front Wrap Cross Carry, for example, you’ll have a horizontal pass going straight across baby’s back, and cross passes that come diagonally from your shoulders and cross under baby’s bum.
Some other carries involve rebozo passes (across one shoulder), poppable passes, or reinforced passes. You don’t need to know them all now — but understanding that a pass is simply a layer of fabric doing a job helps you feel less overwhelmed by the names.

Two passes crossed on the back
Tail
The tail is the long end of the wrap that’s left hanging when you’re done wrapping. In many carries, you’ll finish off by tying the tails in a knot — either in front, back, or at your side. Sometimes, if your wrap is very long (or your carry more compact), you’ll have long tails left over, and you can get fancy with them later — think finishes like a knotless twist or a sweetheart tie.
But when you’re first starting? Just aim for a nice double knot, snug and secure. You’re doing great.

Simple knots finish the job
Common Woven Wrap Terms
Here are a few other phrases you’ll likely come across:
Shortie – A shorter wrap, great for quick carries or back carries once you're more experienced.
Middle Marker – A small tag or logo sewn in the centre of the wrap to help you find the middle quickly. Handy when you’re starting a carry.
Seat – The part of the wrap that goes between baby’s knees and under their bum, creating that ergonomic 'M' position.
Strand-by-strand tightening – Adjusting each section of the wrap (top, middle, bottom) separately to get a snug, custom fit.
Spread pass – A pass that is opened wide across baby’s body, rather than bunched or twisted.
Why This Matters
Learning the language of wraps can feel like a lot — but just like riding a bike, it becomes second nature with time and practice. By understanding these parts of the wrap, you’ll be able to follow tutorials more easily, get a better fit, and feel more in control.
We use these terms often in our demonstrations, especially when showing carries like the Front Wrap Cross Carry (FWCC) — the most common beginner carry — so it’s worth becoming familiar with them before we dive in.
You’ve got this! And remember — every expert wrapper was once a beginner, tying their first knot with a baby on their chest and a cheer squad of fabric trailing behind.